The short answer
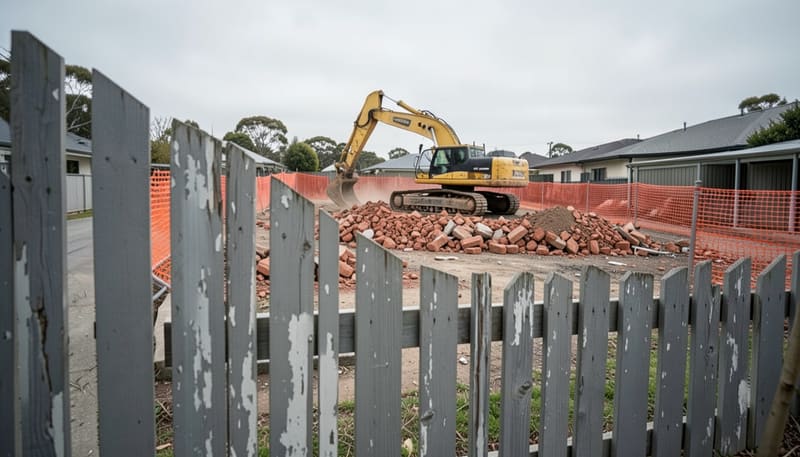
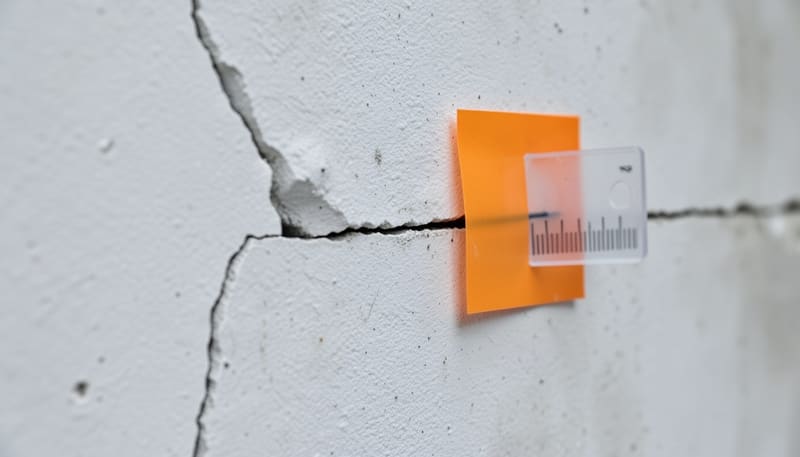
A dilapidation report is a dated record of a property's condition, made before nearby demolition, excavation or construction starts. It combines photographs with written observations and measurements of existing cracks and defects, so that if damage is claimed later, the property's condition can be compared against evidence of how it looked before.
Key takeaways
- It's a baseline: evidence of condition on a specific date.
- It must be done before works start, or the baseline is lost.
- Measured cracks make it far more useful than photos alone.
- It protects both the party doing the works and the neighbours.
The word "dilapidation" means a state of disrepair. In construction, a dilapidation report doesn't judge whether a building is in good or bad condition. It simply records what's there, so no one has to rely on memory later. That's why it's also called a pre-construction condition survey, a property condition report or simply a dilap report. In commercial leases you may also hear "property dilapidations", meaning disrepair a tenant may have to make good at the end of a lease.
Dilapidation reports: quick facts
- What it is
- A dated record of a property's condition, with photos and measurements
- When
- Before demolition, excavation, piling or major works nearby
- Who orders it
- Usually the builder or developer; neighbours can order their own
- Who prepares it
- Building inspectors or structural engineers
- Time on site
- One to three hours for a typical house
- Our price
- From $390 + GST, fixed before we start
What's included in a dilapidation report
A useful dilapidation report records enough detail that the same defect can be found and re-checked months later. Ours include:
Report details
The property, purpose, who commissioned it, the inspection date and weather, and any areas not accessed.
Located photographs
Each external elevation and accessible room, numbered and located on a plan so they can be retaken from the same spot.
Crack register
Every crack with its location, measured width, length and orientation, linked to a photo.
Other defects
Water stains, sticking doors, uneven floors, separated joints, cracked tiles and earlier repairs.
Site elements
Fences, boundary and retaining walls, paving, driveways and pools near the works.
Public assets
Footpaths, kerbs and crossovers at the frontage, where your consent asks for them.
Every report ends with the engineer's signature and a clear statement of what was and wasn't inspected. See how these sections look in our sample dilapidation report. There's no Australian Standard written specifically for dilapidation reports; read which standards reports reference.
How cracks are recorded and rated
Cracks are the heart of most damage disputes, so they need more than a photo. Each one is given a reference number, located on the plan, and measured for width and length with a crack width gauge. Its direction (vertical, horizontal, diagonal or stepped along mortar joints) is noted, because the pattern helps an engineer read what caused it.
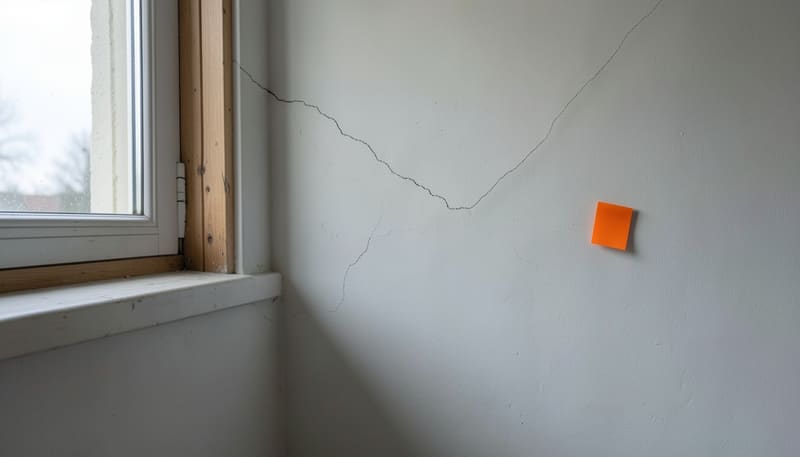
Many reports also rate each crack against the damage categories in AS 2870, the Australian Standard for residential slabs and footings. The categories run from 0 (hairline) to 5 (very severe), and give everyone a shared language for how significant a crack is.
- Cat 0Negligible< 0.1 mm
Hairline cracks.
- Cat 1Very slight< 1 mm
Fine cracks which do not need repair.
- Cat 2Slight< 5 mm
Cracks noticeable but easily filled. Doors and windows stick slightly.
- Cat 3Moderate5–15 mm
Cracks can be repaired; some wall may need replacing. Doors and windows stick, service pipes can fracture, weathertightness often impaired.
- Cat 4Severe15–25 mm
Extensive repair: sections of wall broken out and replaced. Frames distort, walls lean or bulge, some loss of bearing in beams.
- Cat 5Very severe> 25 mm
Major repair, partial or complete rebuilding. Beams lose bearing, walls lean badly and need shoring. Danger of instability.
Width isn't everything
The standard treats crack width as a guide only. Ten fine cracks in one wall can matter more than one wider crack, and a crack that is still growing matters more than an old, stable one. That's why repeat measurements against a baseline are so valuable.
When you need a dilapidation report
You need one before any work that could plausibly affect a neighbouring property:
- Demolition of a building near a boundary
- Excavation for a basement, pool, footings or retaining wall
- Piling, rock breaking or other high-vibration work
- Heavy machinery, cranes or trucks operating beside a boundary
- Structural work on a shared wall in a terrace, semi or townhouse
Excavation is the most common trigger, because removing soil next to a boundary can take support away from a neighbour's footings. The closer and deeper the dig, the more likely the neighbour's house sits within its zone of influence.
Is the neighbour's footing within the zone of influence?
Councils often make dilapidation reports a condition of development consent for these works. Commercial landlords and tenants also use them at the start of a lease and before make-good. Read when a dilapidation report is required.
How the dilapidation process works
From consent condition to final comparison, the process has six steps. Most of the value comes from doing the first four before anyone touches the site.
- As soon as you have consent
Check your consent conditions
Look for a dilapidation condition. It usually names the properties to record, when the report is due and who gets a copy.
- Weeks before works
Request a fixed quote
Send the address, works type, start date and the condition wording. We reply with a fixed price within 1–2 business hours.
- Before the inspection
Arrange access with neighbours
A short letter explaining that the report protects both parties gets most owners to agree to internal access.
- Before works start
Inspect and record
Every elevation and accessible room is photographed, and existing cracks are measured and logged.
- Before works start
Issue and share the signed report
Each owner receives the record of their own property. Lodge copies with your certifier or council if required.
- After works finish
Compare with a post-construction report
Recorded cracks are re-measured and new defects logged, so any change is clear.
Pre-construction vs post-construction reports
| Pre-construction | Post-construction | |
|---|---|---|
| When | Before works start | After works finish (or a high-risk stage) |
| Purpose | Record the baseline condition | Compare against the baseline |
| Output | Photos, crack register, defects | Changes, new defects, opinion on likely cause |
| Ordered by | Usually the builder or developer | Builder, neighbour or insurer |
The pair together is what settles disputes: one proves what was there, the other proves what changed. See pre-construction and post-construction reports.
Who prepares a dilapidation report?
Dilapidation reports are prepared by building inspectors and by structural engineers. Both can record condition well. An engineer's report adds measured cracks, an assessment of structural significance and, after the works, an opinion on likely cause, and it's signed by a registered professional engineer. Read engineer vs building inspector.
Independence matters
Choose a provider that doesn't quote for repairs. A report written by someone who might be paid to fix the damage is easier to challenge. We're engineering only: we inspect, record and report, and never carry out building work.
How the report is used if damage appears
If a neighbour reports new cracks during or after the works, the property is re-inspected and compared with the original report. Each recorded crack is re-measured, and new defects are logged. An engineer can then give an opinion on whether the change is new and whether the works are a likely cause.
Without a report, that conversation becomes one person's memory against another's. With one, it's a comparison of evidence. That's the whole point. Read what to do if construction next door damages your house.
Noticed a new crack?
Photograph it with something for scale, note the date, and tell the builder in writing straight away. Don't patch or paint over it until it has been recorded and measured.
Getting a useful dilapidation report
Do
- Book as soon as your start date is set
- Ask for measured cracks, not just photos
- Include inside rooms wherever access allows
- Give each owner a copy of their own record
Don't
- Wait until demolition or excavation has started
- Settle for an external-only record if inside access is possible
- Forget fences, retaining walls and paving near the works
- Skip the post-construction comparison on higher-risk jobs
Glossary
- Dilapidation report
- A dated record of a property's condition before nearby works. Also called a condition survey or dilap report.
- Baseline
- The condition recorded before works, which later inspections are compared against.
- Crack register
- A table listing each crack's reference, location, width, length, orientation and photo.
- Zone of influence
- The area of ground around an excavation that can move if the excavation isn't properly supported.
- Post-construction report
- A re-inspection after works that compares the property with the original record.
- Make-good
- A tenant's obligation to return leased premises to an agreed condition at the end of a lease.
Sources and standards referenced
- Standards Australia, AS 2870-2011 Residential slabs and footings. Appendix C, Table C1: classification of damage to walls
- Standards Australia, AS 4349.0-2007 Inspection of buildings, Part 0: General requirements